
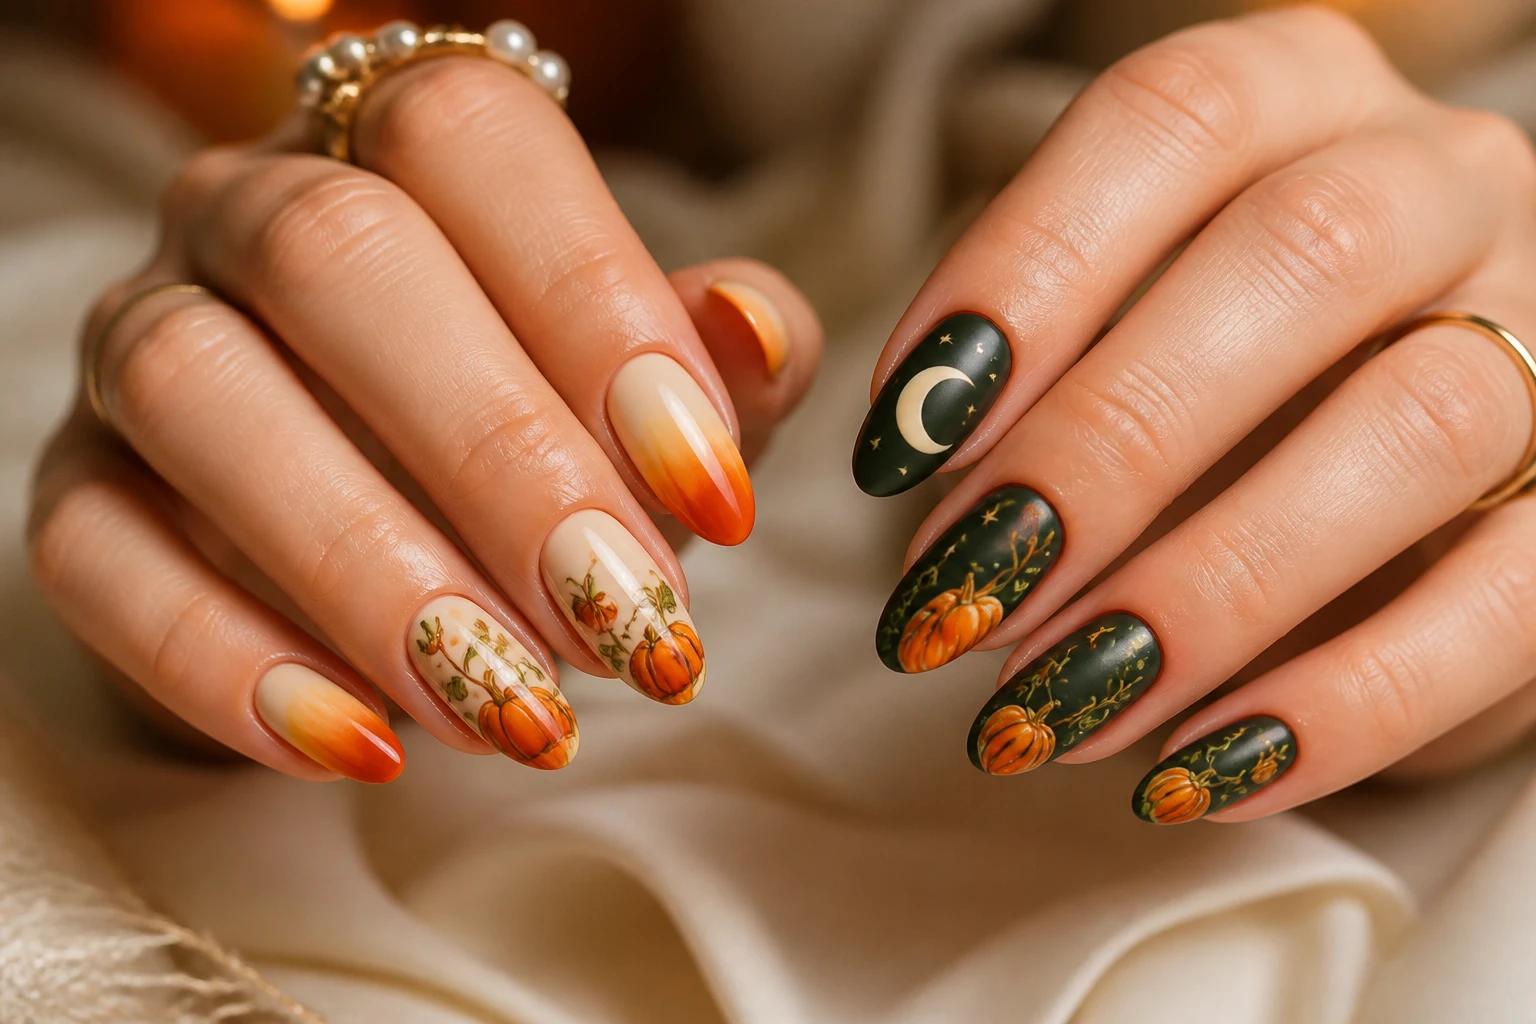
Want nails that snag compliments and drop jaws? These pumpkin-inspired designs are playful, chic, and totally doable. FYI, you’ll want to try them all before pumpkin season slips away.
1. Pumpkin Sunrise Ombre
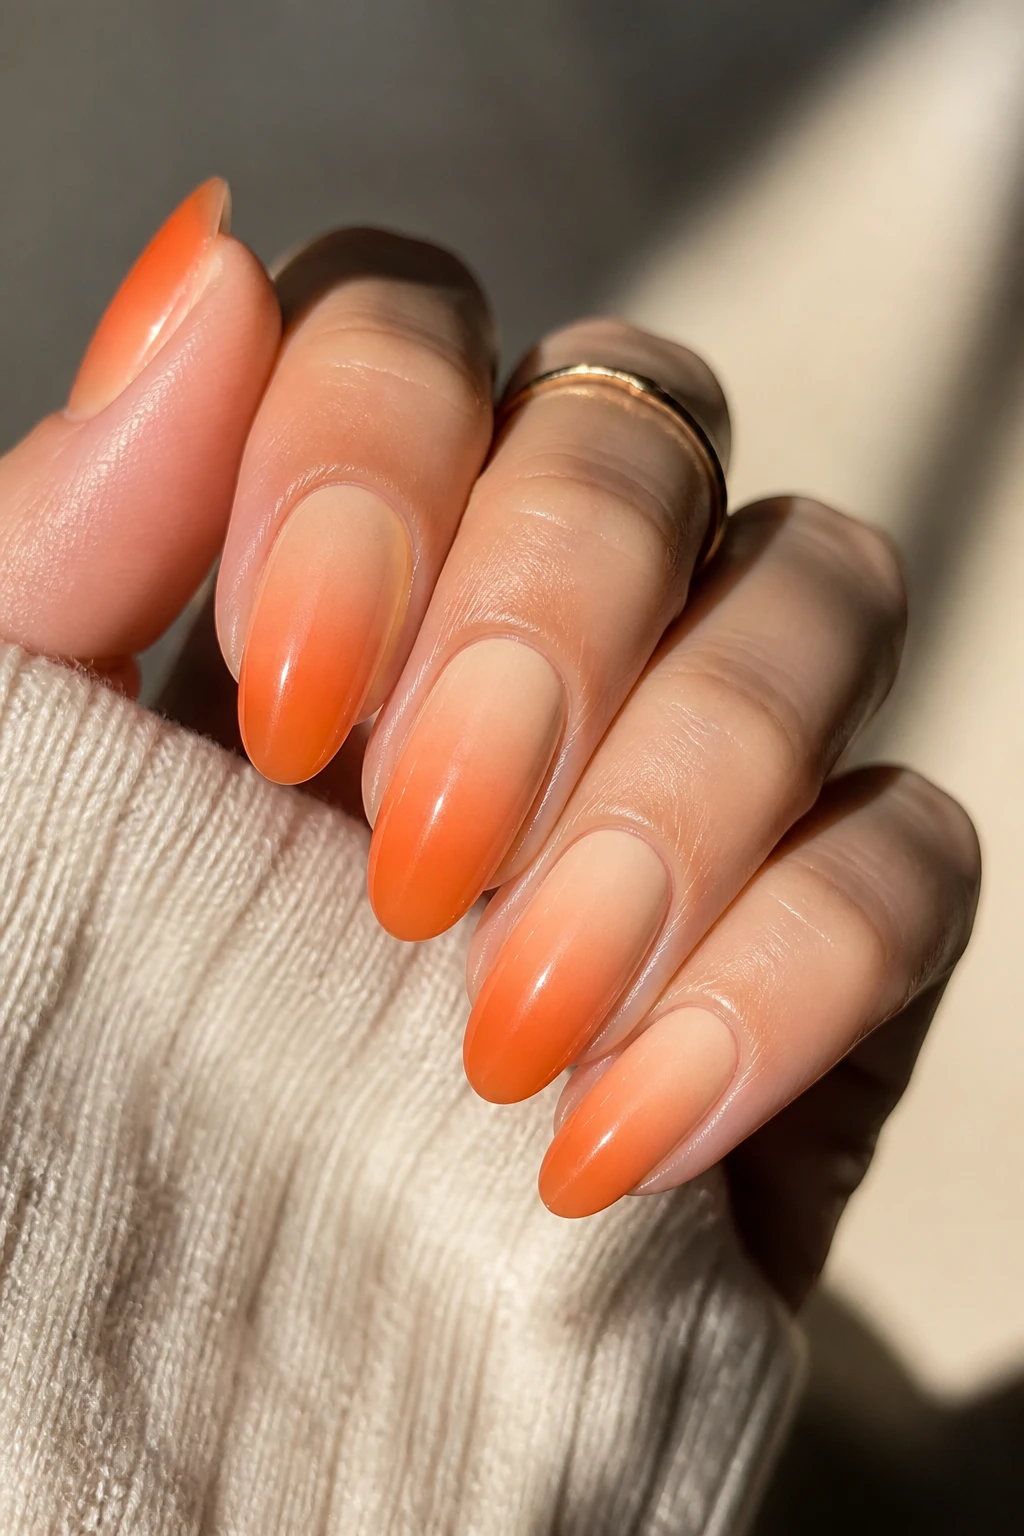
Kick off with a soft gradient from pale peach to pumpkin orange. The glow is instant, and it pairs with almost any outfits.
Why it works: ombre elongates the nail and looks sophisticated rather than cheesy.
Key Points
- Base coat matters—smooths every layer
- Blend colors while wet for seamless transition
- Top coat to lock in the gradient
Tips: use a makeup sponge to dab the colors for a flawless fade. Seriously, your nails will look like a sunrise in a jar.
2. Cute Halloween Flat-Color Half-Moon
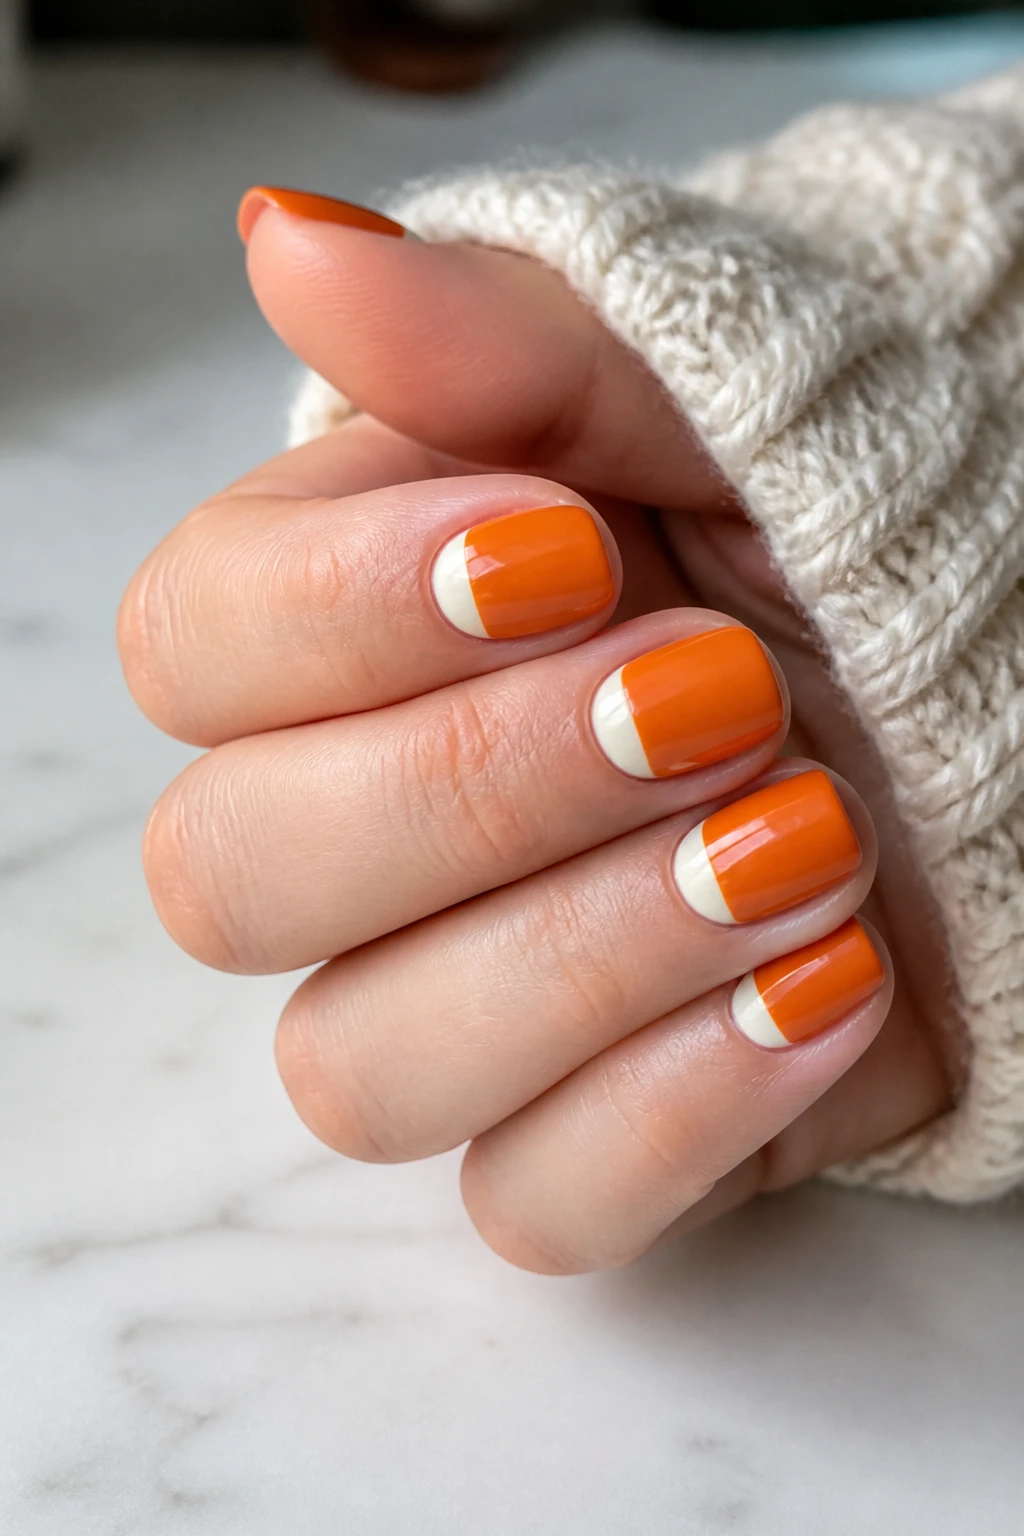
Two colors meet in a crisp half-moon at the cuticle, showcasing a clean, modern vibe. It’s simple but makes a bold statement.
Why it works: minimalism is surprisingly striking on nails.
What You’ll Need
- Two complementary shades (pumpkin and cream)
- Dotting tool or small brush
- Fine tape for clean lines
Application note: apply the lighter shade near the cuticle, then use tape to keep the boundary sharp. Trust me, the precision is everything.
3. Pumpkin Patch Nail Garden
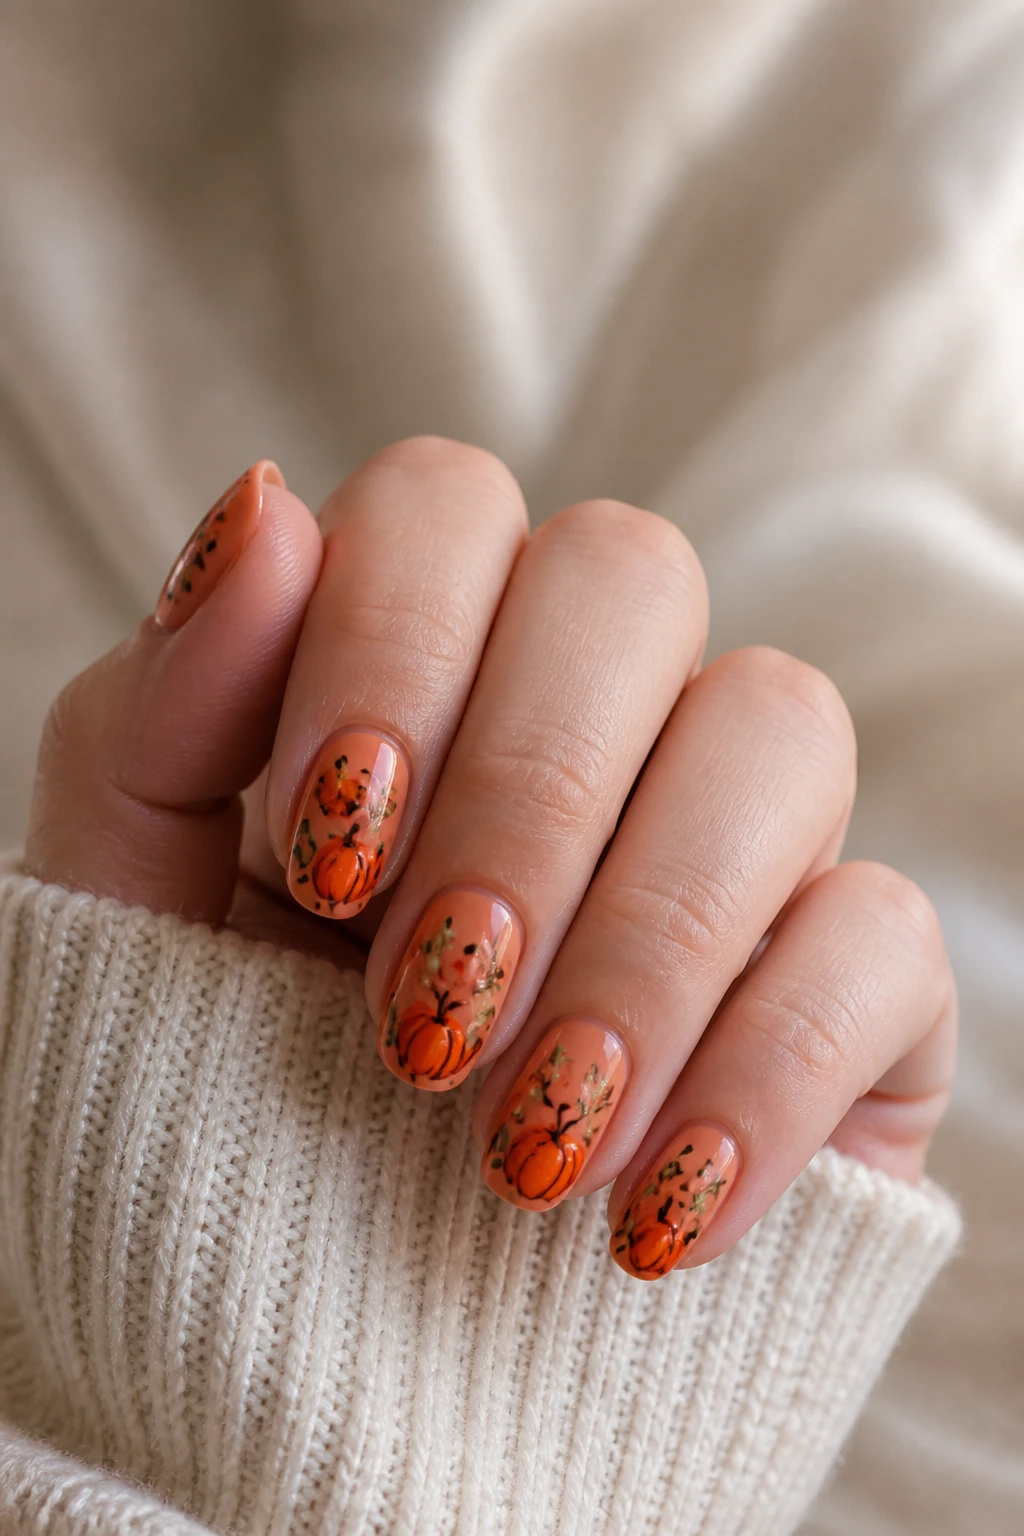
Turn each nail into a tiny pumpkin patch with mini pumpkins, vines, and leaves. It’s whimsical and totally Instagram-worthy.
Why it works: tiny details draw the eye without shouting for attention.
Design Elements
- Orange base with black or green accents
- Tiny dot pumpkins using a detail brush
- Delicate vine lines for texture
Tip: keep the composition airy; negative space makes the design feel fresh. FYI, seal well so those critters don’t wander off!
4. Matte Pumpkin with Glossy Accent
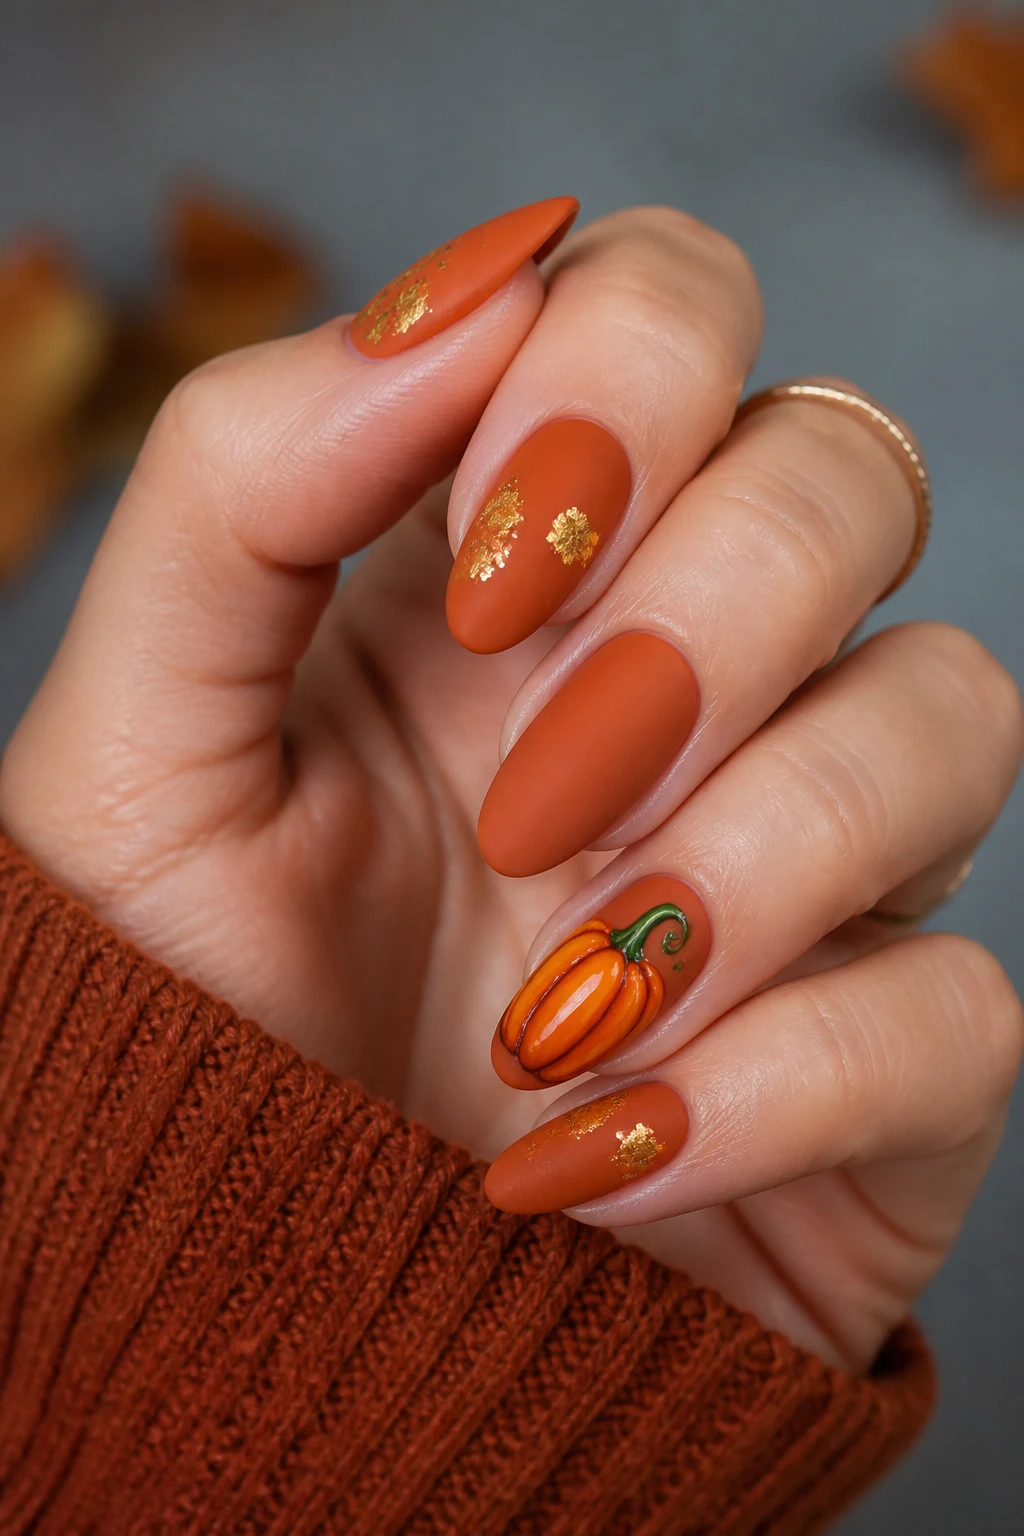
Matte orange nails with a single glossy pumpkin accent nail blend edgy and chic in one fell swoop.
Why it works: playing with finishes adds depth and drama.
How to Do It
- Matte top coat over orange
- Glossy pumpkin on one nail for contrast
- Optional gold foil specks for glam
Finish strong with a high-gloss top coat on the accent nail to really pop. IMHO, this combo screams fashion-week vibes.
5. Classic Carved Pumpkin Accent
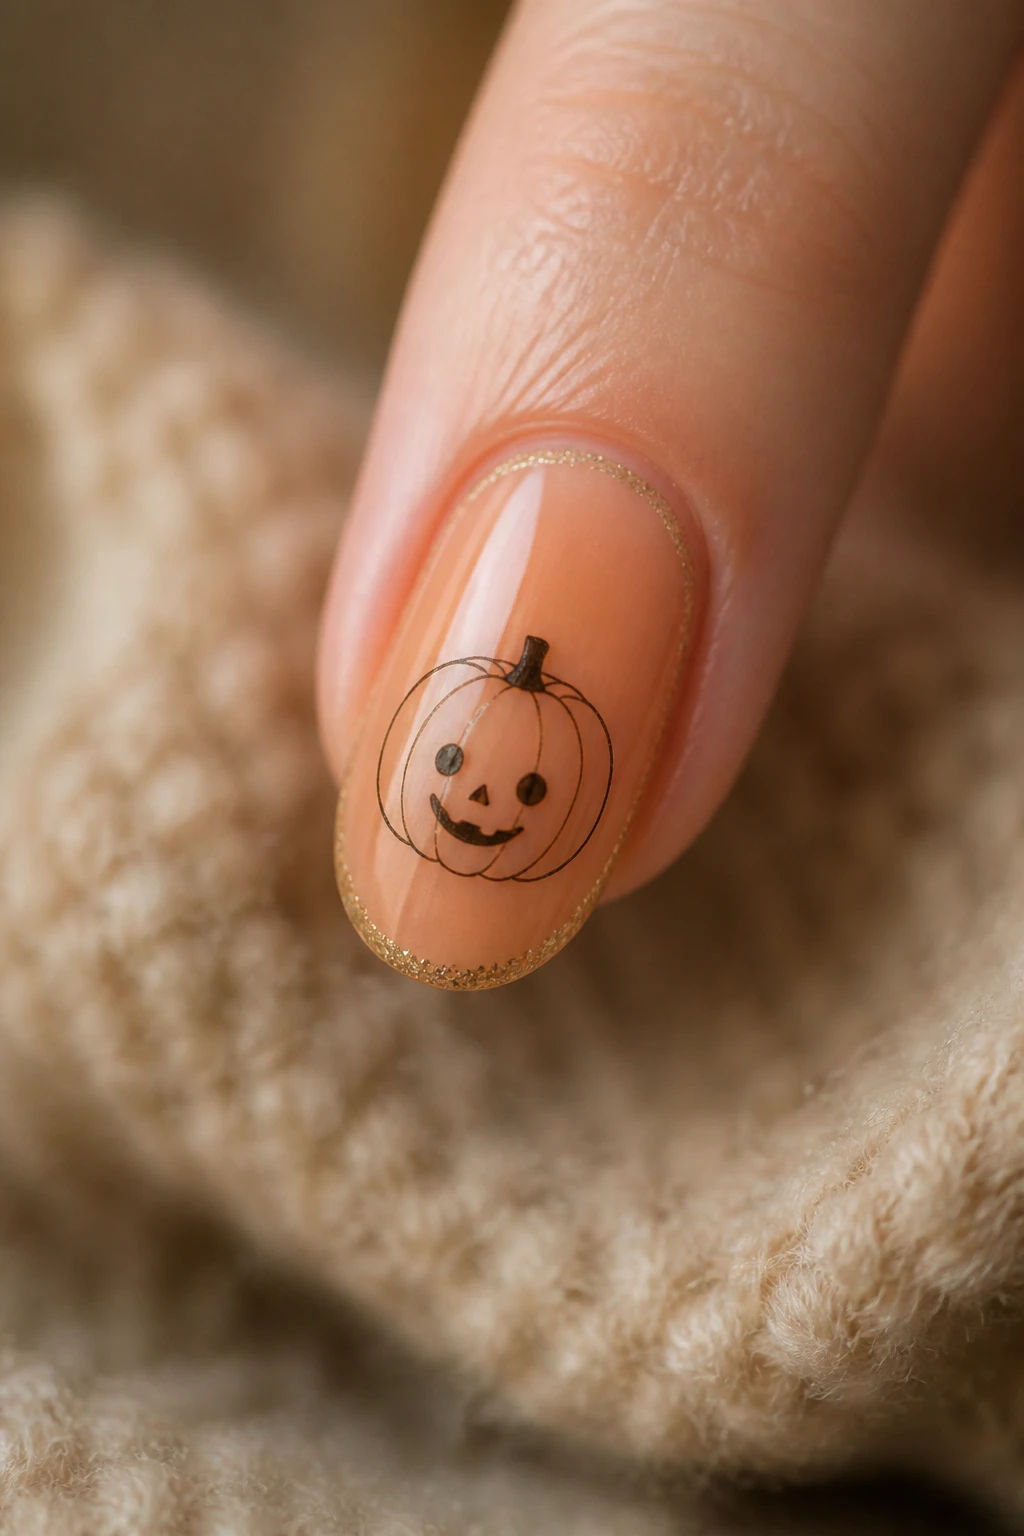
Go timeless with a carved pumpkin face on a single nail—think tiny, friendly jack-o’-lantern smile.
Why it works: familiarity feels cozy, not over-the-top.
Finishing Touches
- Thin black liner for the face
- White or pale yellow for eyes if you want a friendly look
- Optional glitter outline for whimsy
Tip: keep the lines steady with a fine brush. It’s all in the control, my friend.
6. Glitter Pumpkin Nights
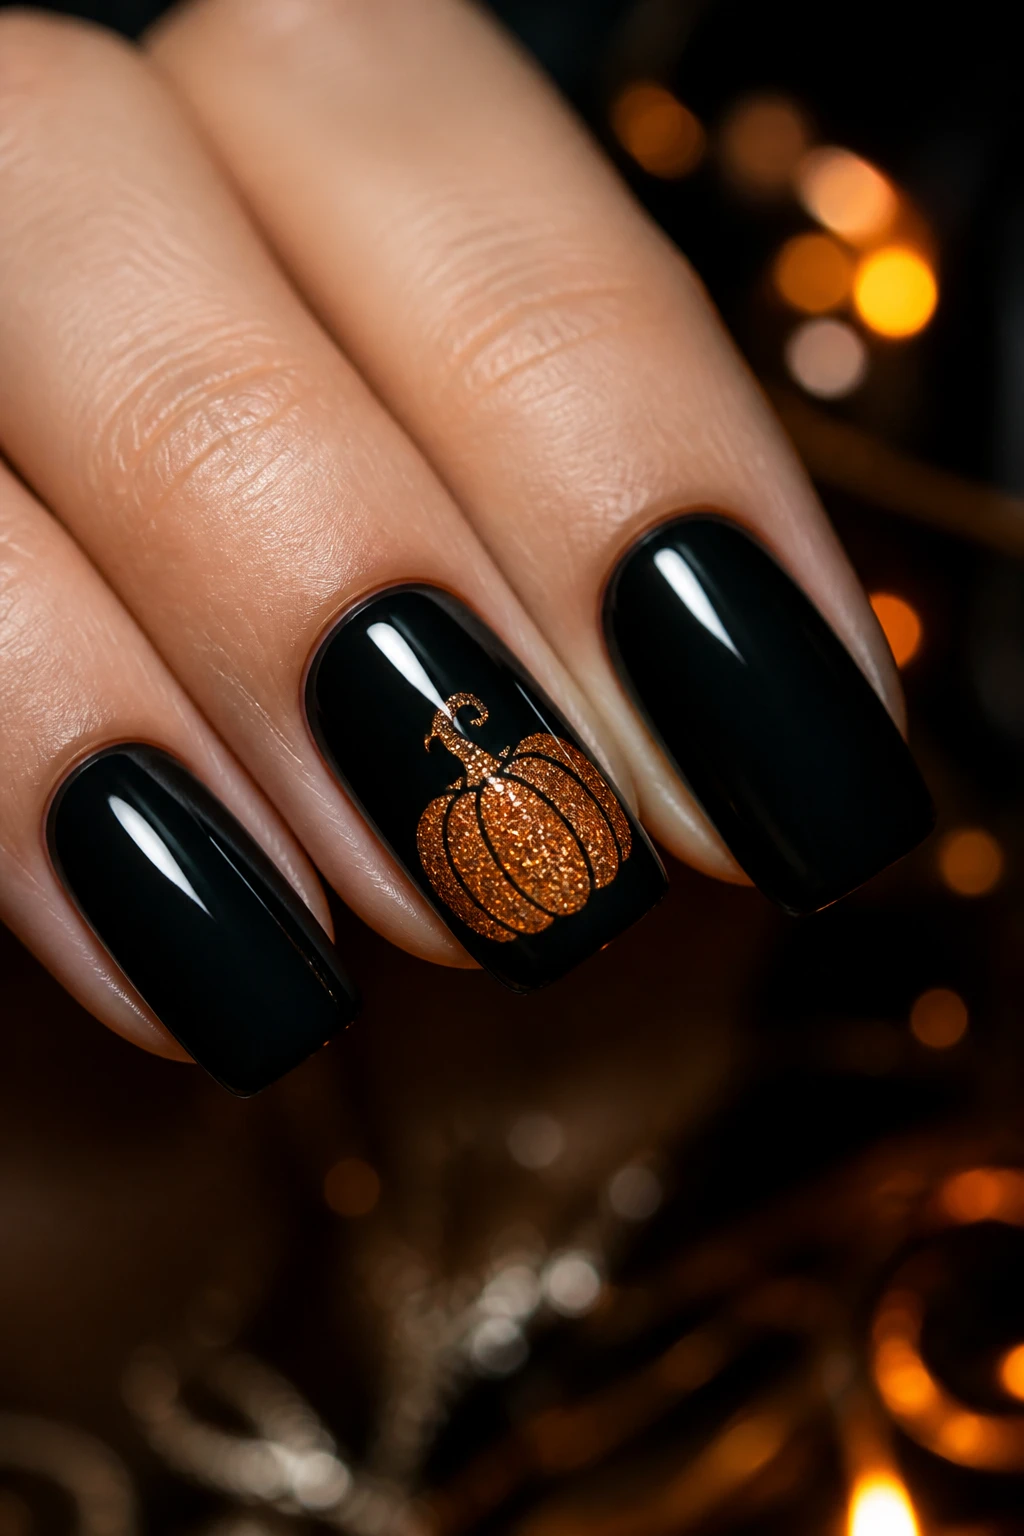
Apply a glittery pumpkin silhouette on a dark base for a party-ready manicure that sparkles in every light.
Why it works: glitter nails catch photos and attention without trying too hard.
What to Use
- Deep green, navy, or black base
- Copper or gold holo glitter for pumpkins
- Fine-tipped brush for details
Application note: dab glitter in a pumpkin shape and clean edges with a liner brush. FYI, seal with a thick top coat to prevent shedding glitter on the couch.
7. Pumpkin Patch Negative Space
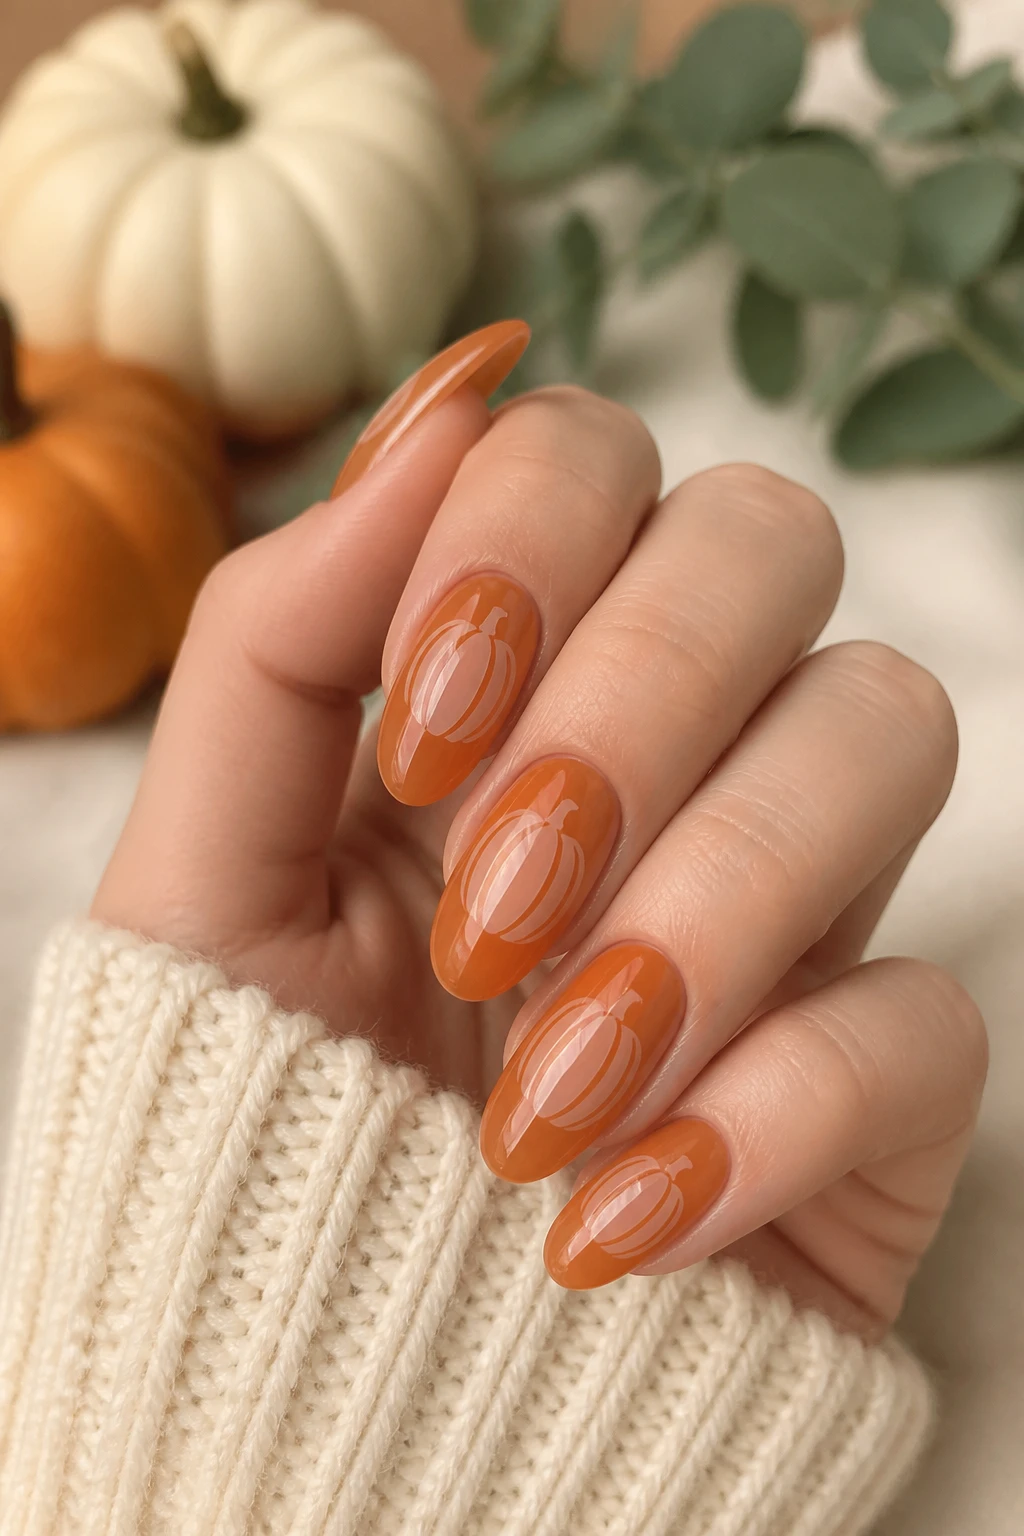
Let negative space do the heavy lifting by carving out pumpkin shapes that reveal skin beneath. It looks modern and effortless.
Why it works: less is sometimes more, especially with clever negative space.
Tips
- Use sticker guides to reserve space
- Soft orange overlays create the illusion of depth
- Top coat to protect peeled edges
Benefits: low product use, high impact, and it grows nicely with your nail length.
8. Tiny Pumpkin Pom-Poms
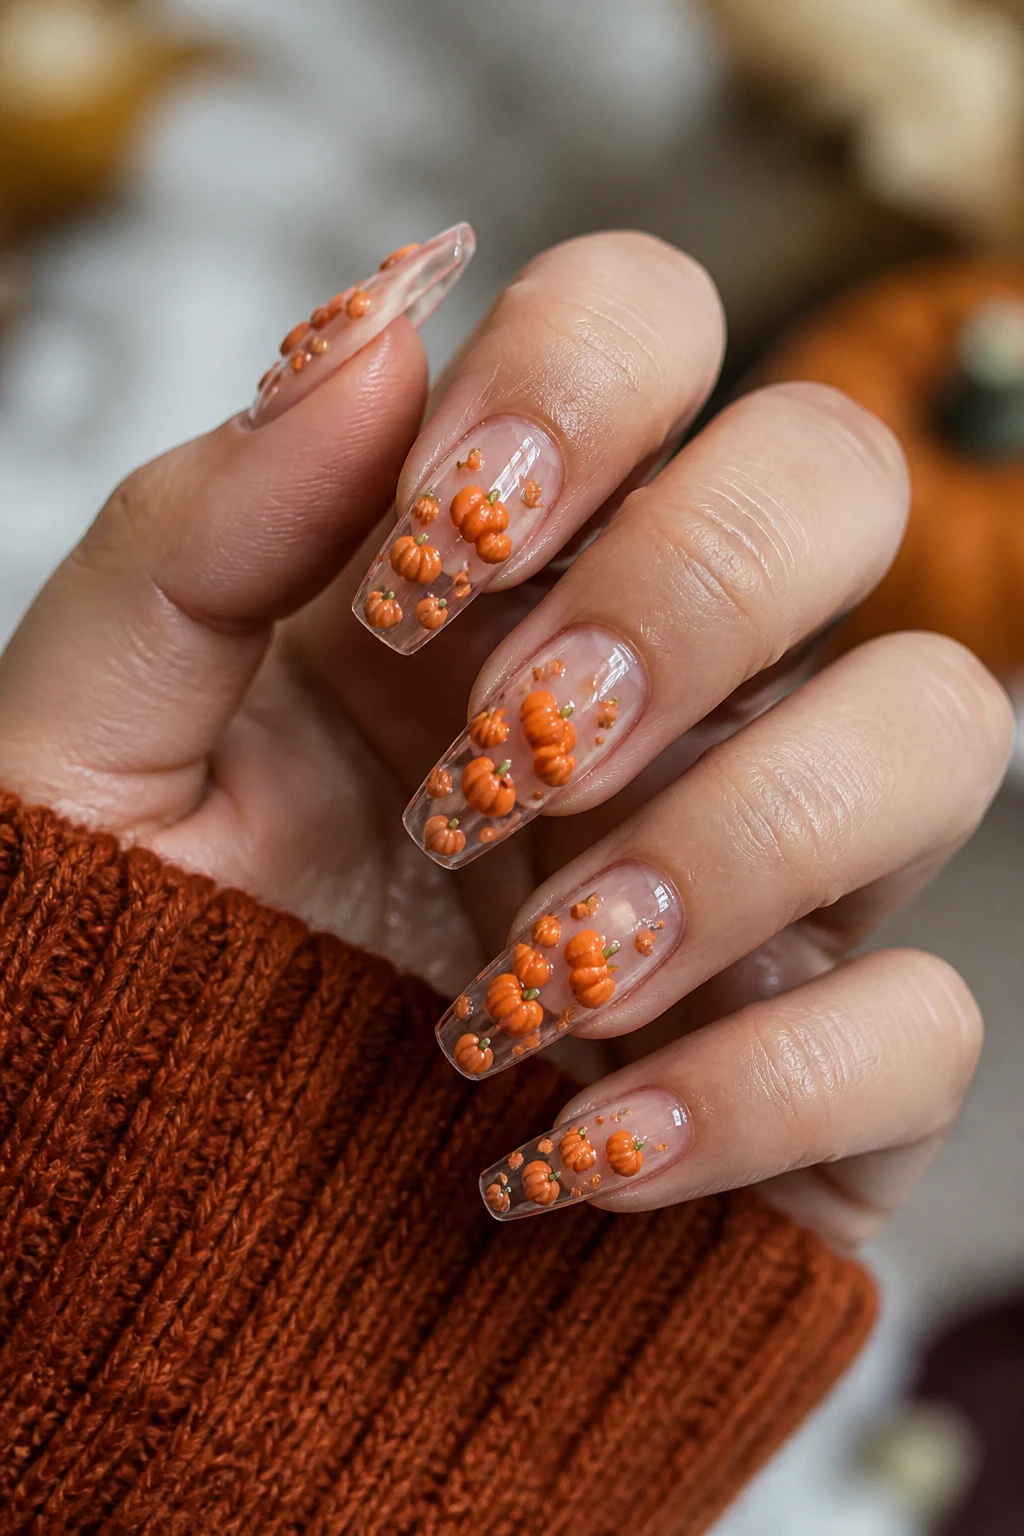
Texture meets whimsy with tiny 3D pumpkin accents. A little tuft on each nail instantly elevates your manicure.
Why it works: tactile details look amazing in real life and on camera.
Materials
- Orange 3D nail studs or tiny epoxy pumpkins
- Clear acrylic or gel base to secure
- Top coat that grips 3D elements
Tip: place smaller elements toward the tip to keep the nails practical for daily wear. Seriously cute and not insane to manage.
9. Harvest Stripes and Stems
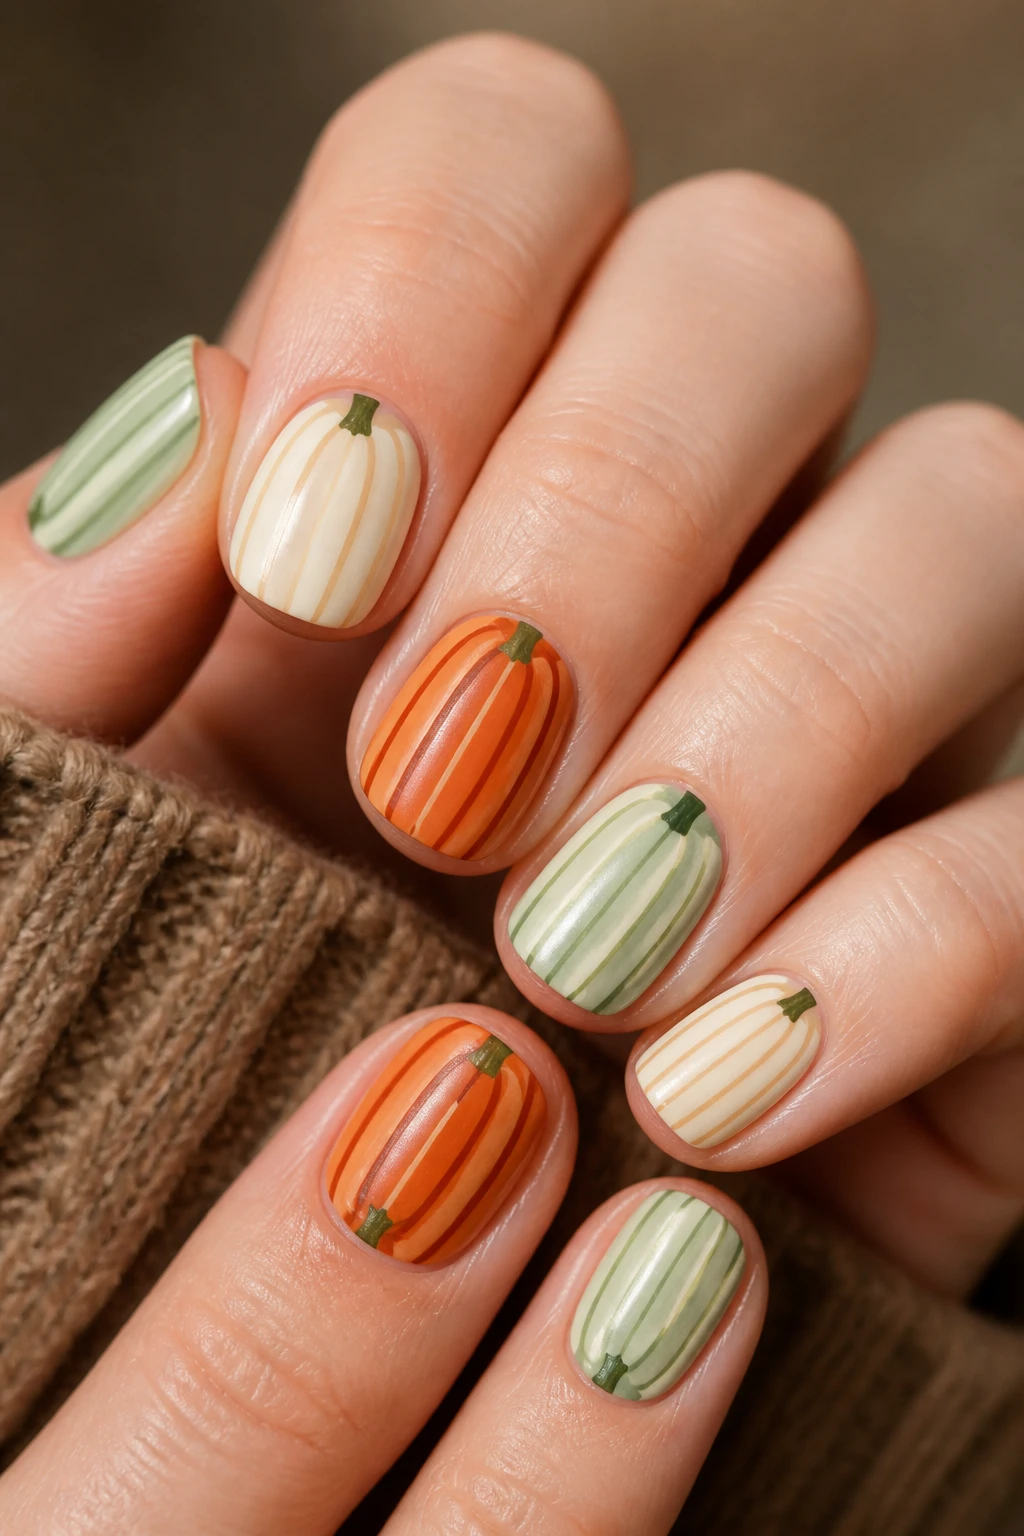
Vertical stripes evoke tall pumpkins on a vine, with green stems for a pop of contrast. It’s playful and graphic.
Why it works: bold lines never go out of style.
Details
- Orange, ivory, and sage color palette
- Steady hand required for clean lines
- Thin striping brush helps a ton
Application tip: tape off sections for crisp boundaries. FYI, this one travels well on short nails too.
10. Pumpkin Spice Marble
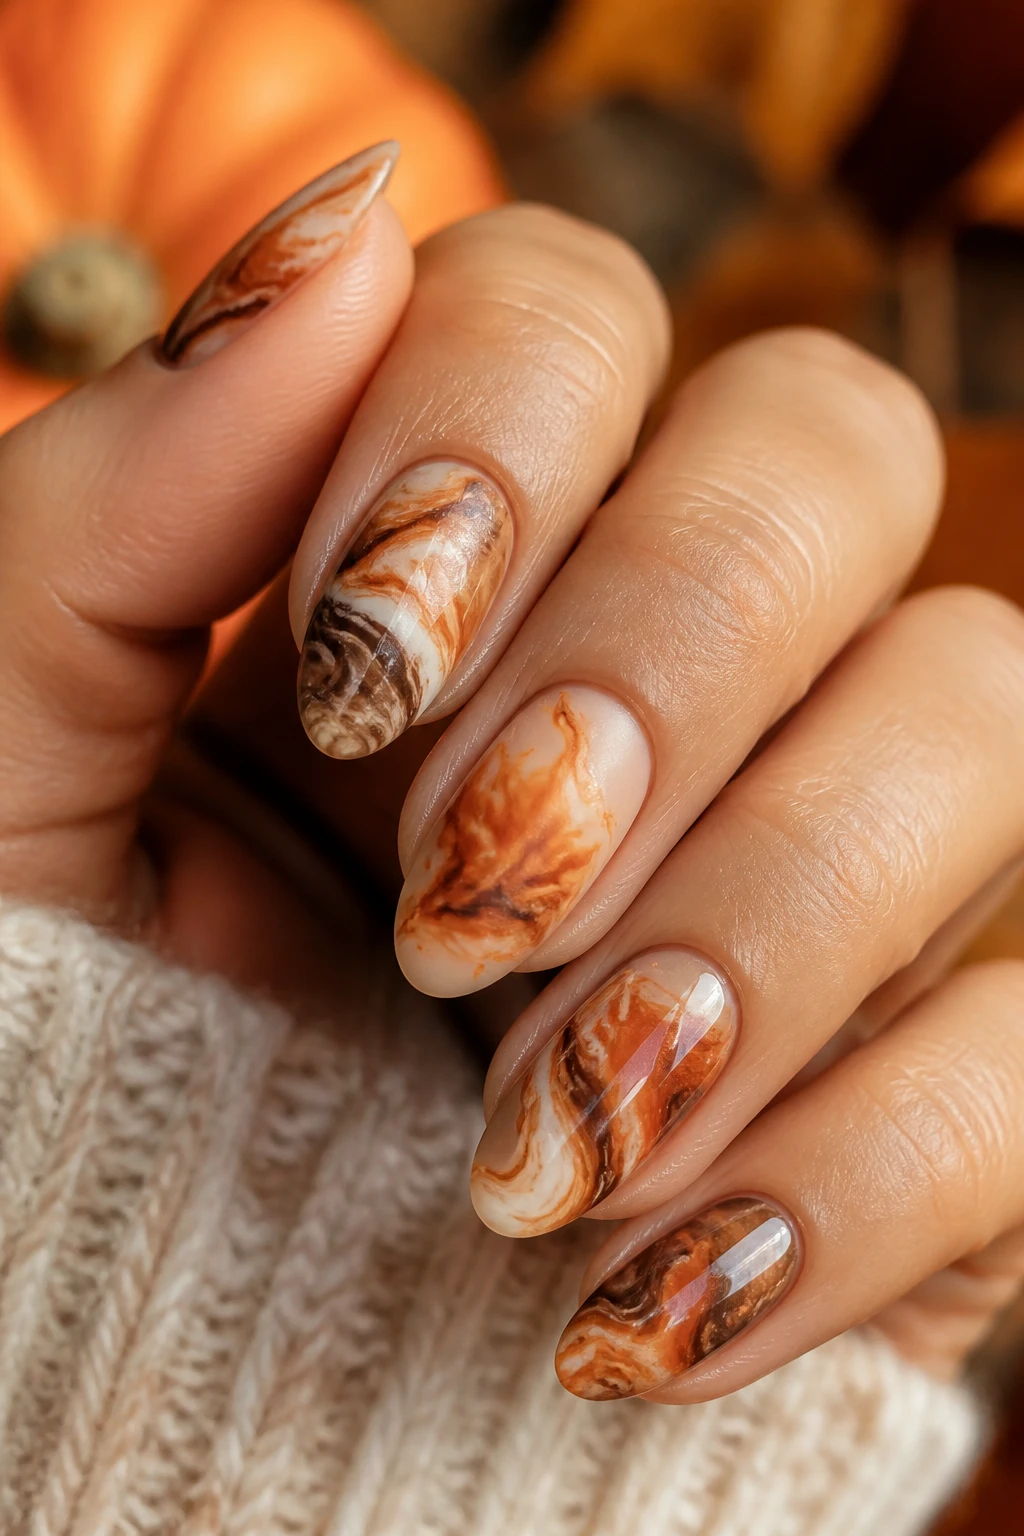
Combine marble swirls with pumpkin hues to recreate the cozy vibe of your favorite latte.
Why it works: marble textures feel luxe without being fussy.
How to Create
- Swirl white with pumpkin and brown
- Use a feathering technique to blend
- Finish with semi-mat or gloss top coat
Benefit: unique every time, so you’ll never get bored of this design.
11. Stencil Pumpkin Silhouettes
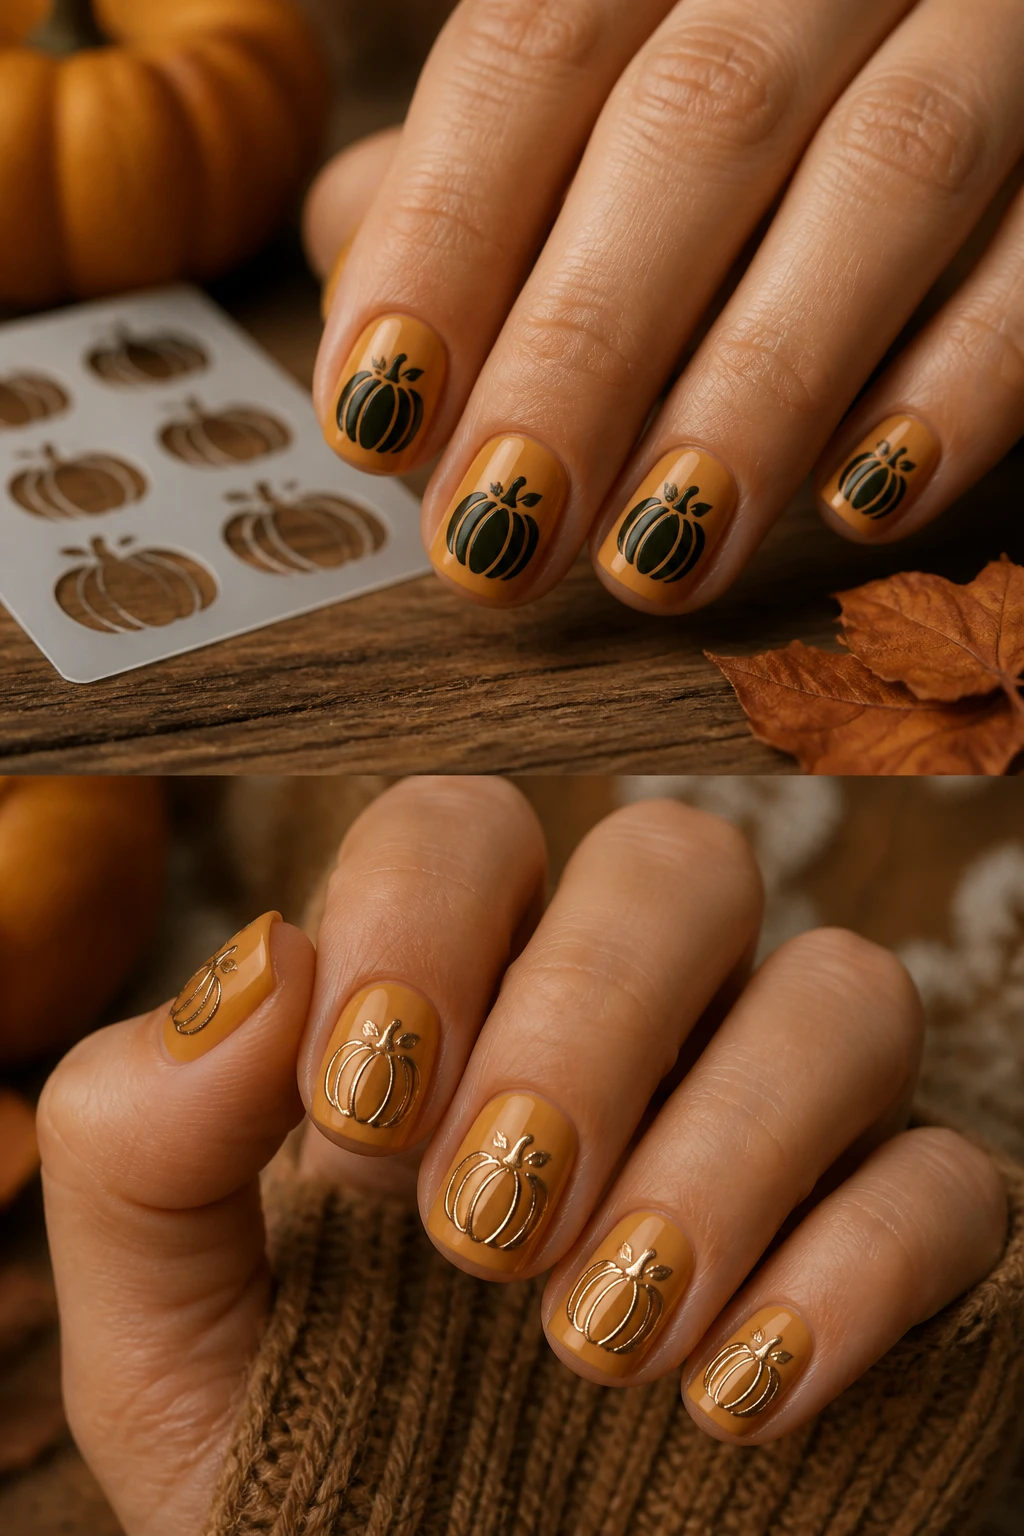
Stencil cute pumpkin shapes in black or dark green over a warm base for a crisp, graphic look.
Why it works: stencils help you achieve professional-looking silhouettes at home.
How to Do It
- Use a reusable stencil and a fine brush
- Fill with solid color, then clean the edges
- Seal with a top coat to prevent chipping
Bonus: swap in metallic outlines for a modern twist. Trust me, this is an effortless win.
12. Neon Pumpkin Pop
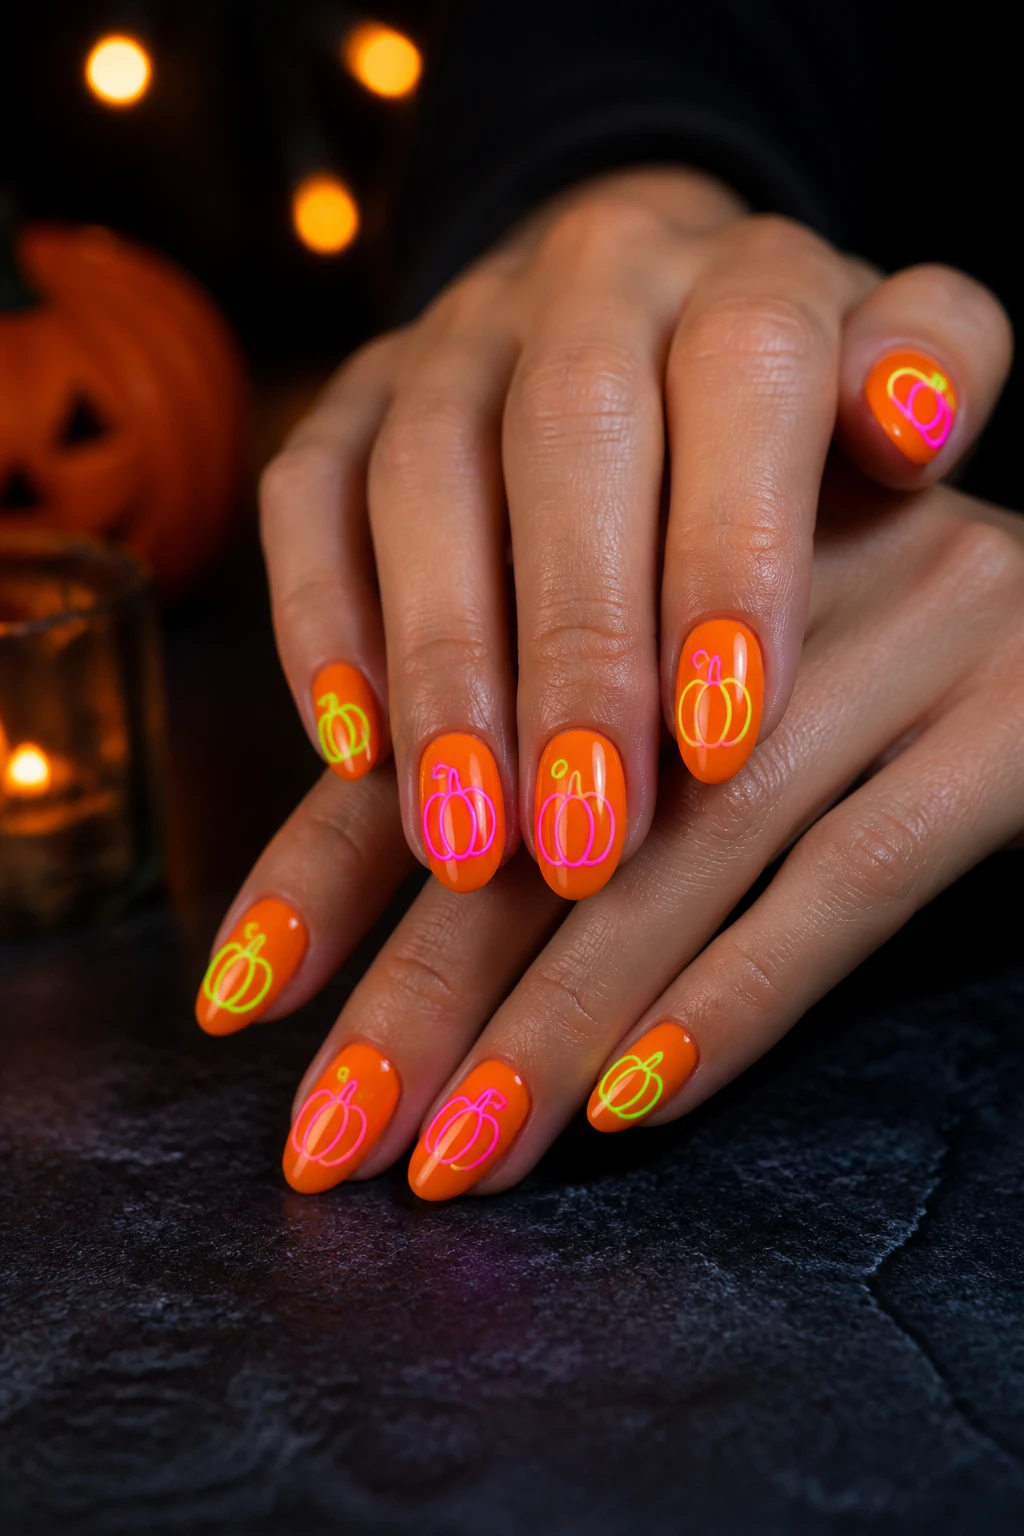
Yes, neon pumpkins exist in a glow-up world. Bright, cheeky, and insanely photogenic.
Why it works: neon pops against dark outfits and seasonal lighting.
What You’ll Need
- Bright orange base with neon highlights
- UV reactive or high-pigment neon polish
- Thin brush for details
Tip: keep the design minimal on each nail to avoid overwhelming the eye. This is your bold, friendly punchline.
Ready to pick a favorite? Each design has its moment, whether you’re hitting a party, a casual day out, or a cozy night in. FYI, mix and match across your two-week rotation to keep things fresh and fun.
So go ahead—grab your polishes, pick a vibe, and start painting. Your nails will thank you, and your photos will thank you even more. You’ve got this, and these designs are your hype squad.

Velonia
Velonia is a beauty and lifestyle writer who loves sharing easy, stylish ideas for everyday living. She enjoys exploring nail trends, seasonal fashion, and simple self care inspiration. With a warm, friendly style, Velonia helps readers feel confident, creative, and effortlessly beautiful in their own way.

